I've just published my Cognitive Services sample app to github. Currently it's limited to Face API service, but I'll work on expanding it to cover other services as well.
The Microsoft Cognitive Service Playground app aims to support:
- managing person groups,
- managing persons,
- associating faces with persons,
- training person groups,
- detecting faces on photos,
- identifying faces.
Basic tutorial
1. Download/clone the solution, open it in Visual Studio 2017 and run.
2. Enter the key in the Face API Key text box. If you don't already have a Face API access key, read this blog post on how to get it.

3. Click the Apply button.
4. If the key is correct, you will be asked to persist the key for future use. Click Yes if you want it to be stored in application local data folder - it will be read back every time application is started (note: the key is stored in plain text, not encrypted).

5. Click the Add group button.
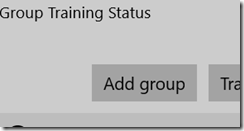
6. Enter the group name and click Add.

7. Select the newly created group and start adding persons.
8. Click the Add person button.
9. Enter person's name and click Add. The person will be added to the selected group.
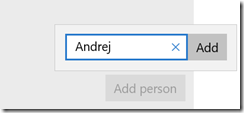
10. Repeat steps 8 and 9 to add more persons in the same group.
11. Click the Open image button and pick an image with one or more faces on it.
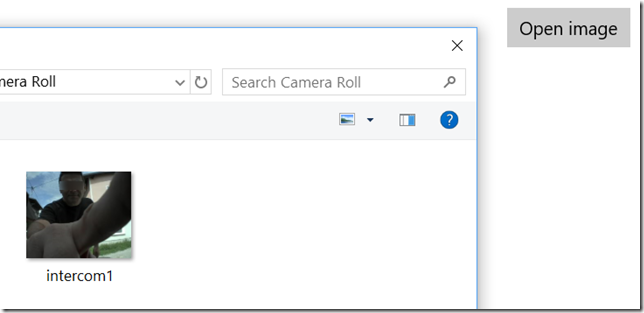
12. The photo should be displayed and if any faces were detected, they should appear framed in rectangles. If not, try with different photo.
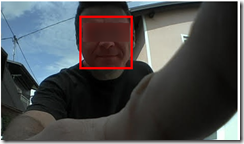
13. Select a person from the list and click on the rectangle around the face that belongs to that person. A context menu should appear.

14. Select the Add this face to selected person option. The face is now associated with selected person.
15. Repeat steps 13 and 14 for different photos and different persons. Try associating multiple faces to every single person.
16. Click the Train group button. Training status should appear. Wait for the status to change to Succeeded. Your group is trained!

17. Open a new photo, preferably one you haven't use before for training, but featuring a face that belongs to one of the persons in the group. Ensure the face is detected (the rectangle is drawn around it).
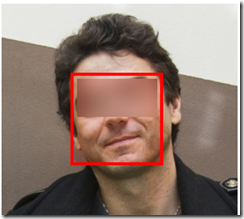
18. Click on the rectangle and select Identify this face.
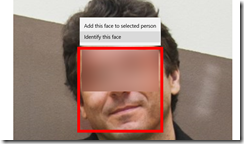
19. With any luck (and the power of AI), the rectangle will get the proper name tag. Previously unknown face has just got a name attached to it!
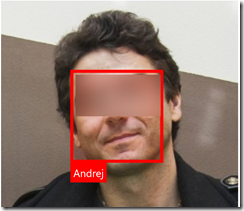
20. Enjoy experimenting with different photos and different faces ;)
21. Revisit my older blog posts on the subject (here and here).
0c25236a-66d3-4d49-b05a-aa7b0de6303e|2|1.0|27604f05-86ad-47ef-9e05-950bb762570c